Leave Your Message
AI Helps Write

7 Tips for Choosing the Best Vegetable Dryer Machine

Choosing a Vegetable Dryer Machine is less about buying the largest cabinet and more about matching the equipment to your crop, output, and workspace. Thin carrot slices dry differently from whole cherry tomatoes. A machine that performs well in a small test batch may struggle during a full production run. Details matter.

Food engineer Dr. R. Paul Singh is known for his work in food processing. No verified verbatim quotation from him on vegetable dryer selection is available here, so the following is an editorial paraphrase, not a direct quote: “Choose equipment for the food and process, not the sales claim.” That principle helps frame the seven tips ahead. Compare usable tray area, airflow consistency, temperature controls, construction materials, cleaning access, energy use, and after-sales support. Ask suppliers for test results using vegetables similar to yours. A glossy brochure is not enough.

Look closely at the practical details: Can trays slide out without catching? Are corners easy to wipe? Does the control panel show a stable temperature during a long cycle? These checks can reveal issues that a product photograph hides. Still, no checklist removes every uncertainty. Drying time changes with slice thickness, moisture, and loading patterns. A small trial batch is wise. The guide that follows offers a clear way to compare machines, while leaving room for a little doubt—and careful testing.
7 Tips for Choosing the Best Vegetable Dryer Machine

Understanding How a Vegetable Dryer Machine Works

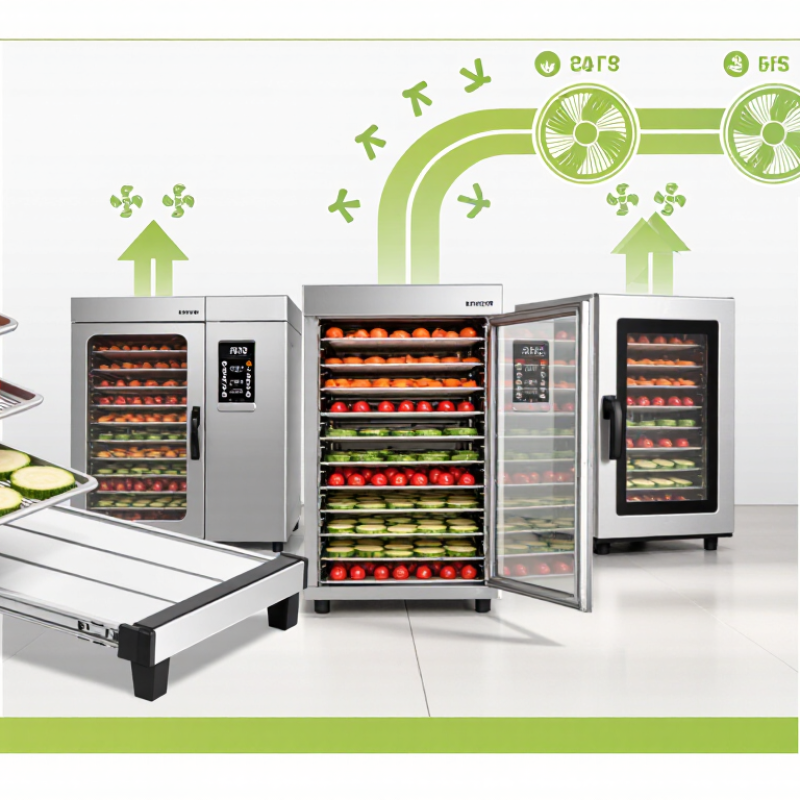
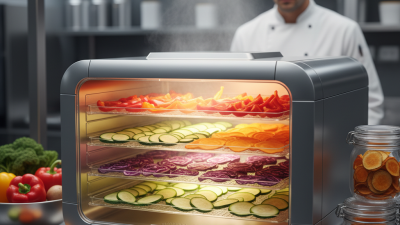
A vegetable dryer machine removes moisture by moving warm air across prepared vegetables. A heating element raises the air temperature, while a fan carries it through the drying chamber. Moist air escapes through vents, allowing drier air to continue drawing water from the food. Air does the work.

Trays hold sliced vegetables in layers, so spacing matters. Crowded pieces can block airflow and dry unevenly. Thin, similarly sized slices usually dry more consistently than mixed chunks. Some vegetables benefit from blanching before drying, but the right preparation depends on the vegetable and the intended use. Check reliable food-preservation guidance rather than assuming every vegetable needs the same treatment.

Temperature and airflow work together. Too little heat can make drying slow; excessive heat may dry the outside while moisture remains inside. Rotate trays if the machine has uneven airflow, and check pieces near the center as well as the edges. They should feel dry according to the food’s recommended storage guidance. Even then, a batch may surprise you. A simple note of slice thickness, drying time, and results can help improve the next run.
Matching Dryer Capacity to Your Processing Needs

Matching a vegetable dryer to your processing needs starts with the amount of fresh produce you handle, not the machine’s advertised maximum. Record your typical daily input and your busiest harvest days. A dryer rated for finished product may list a much lower figure than one rated for fresh vegetables. Check which measurement the supplier uses.

Drying time matters, too. A machine that holds 100 kilograms per batch may not meet a 300-kilogram daily target if each cycle takes longer than expected. Consider the vegetable’s water content, slice thickness, loading pattern, and required moisture level. These factors affect how many batches you can complete. Measure twice.

Tip: Compare usable tray area, not just total capacity. Ask whether the rating assumes evenly spread slices and unrestricted airflow. Leave room for peak days, but avoid buying far beyond your regular workload; an oversized unit can waste energy and floor space.

Before committing, run a small test with your own produce. Weigh the fresh load, note drying time, and check the result across several trays. Real conditions may differ from a neat specification sheet. A pilot batch will not predict every season, but it can reveal bottlenecks, such as crowded trays or slower drying near the center. I would revise the capacity estimate after seeing those results.

7 Tips for Choosing the Best Vegetable Dryer Machine - Matching Dryer Capacity to Your Processing Needs

Tip Processing scenario Fresh vegetable input Planned operating time Daily input volume Suggested rated capacity Capacity-matching consideration
1. Calculate your actual daily workload Small-scale or pilot production 20 kg/h 8 h/day 160 kg/day About 25 kg/h A modest reserve helps accommodate loading, unloading, and short interruptions without greatly oversizing the dryer.
2. Match capacity to seasonal supply Small commercial operation 50 kg/h 8 h/day 400 kg/day About 60 kg/h Base the selection on the amount of produce available during peak harvest, not only on average supply across the year.
3. Allow for longer production runs Growing processor with regular orders 100 kg/h 10 h/day 1,000 kg/day About 120 kg/h Confirm that the dryer can maintain its stated throughput over the planned operating period and required drying conditions.
4. Check the effect of product preparation Washed, sliced, or blanched vegetables 200 kg/h 10 h/day 2,000 kg/day About 240 kg/h Cut size, blanching, loading depth, and incoming moisture can change drying time and therefore actual line throughput.
5. Plan for peak-season production Medium-to-large processing line 400 kg/h 12 h/day 4,800 kg/day About 480 kg/h Compare peak raw-material intake with the capacity of washing, cutting, conveying, and packaging equipment as well as the dryer.
6. Coordinate dryer capacity across parallel lines Large operation using two preparation lines 800 kg/h total 16 h/day 12,800 kg/day About 960 kg/h total Check whether the proposed capacity is shared across lines or required from each line; verify conveyor and heat-source capacity too.
7. Size for future growth without excessive oversizing Expansion planned over the next few years 1,200 kg/h initially 16 h/day 19,200 kg/day initially About 1,440 kg/h initially, or a modular system Consider expandable modules if growth is uncertain. An oversized dryer may run inefficiently when actual loading is consistently low.

Planning note: Daily input volume is calculated as fresh input per hour multiplied by planned operating hours. Suggested rated capacities are illustrative planning estimates with approximately 20% headroom, not guaranteed equipment specifications. Actual throughput depends on vegetable type, slice thickness, incoming moisture, target final moisture, loading pattern, and process conditions. Confirm capacity using representative product trials and the supplier’s test data.

Comparing Drying Methods and Temperature Controls

A vegetable dryer’s method affects color, texture, and drying time. Hot-air machines push heated air across trays, making them practical for sliced carrots, mushrooms, and apple-thin zucchini. Look for adjustable airflow and trays that leave space around each piece. Crowded slices dry unevenly. Some stay leathery in the middle.

Infrared systems transfer heat differently and may dry surfaces quickly, but thick pieces can need careful monitoring. Vacuum drying uses lower pressure, which can help preserve color, though equipment and operation may be more complex. No method is perfect. For everyday batches, temperature control and even airflow often matter more than impressive settings. A thermometer check can reveal whether the displayed temperature matches the air near the food.

Lower temperatures may suit delicate herbs and leafy greens; denser vegetables often need more heat and time. Follow the machine’s guidance, and check reliable food-preservation instructions for safe preparation and storage. Rotate trays if the unit has warm and cool spots. Small batches help. A short test run can show whether slices bend, crack, or remain damp. I’d still inspect the thickest piece, not just the crisp-looking edges. That detail is easy to miss.

Checking Materials, Cleaning, and Food Safety Features

A vegetable dryer handles repeated contact with damp produce, so inspect its materials before comparing extra features. Food-contact trays should feel smooth, without sharp seams, flaking coatings, or deep grooves that trap pulp. Stainless steel can resist corrosion, while food-grade plastics are lighter and easier to handle. Check the manufacturer’s care instructions; not every tray is safe for a dishwasher or high heat. Small details matter.

Cleaning access deserves a close look. Remove each tray and check whether the corners are easy to reach with a soft brush. A door that opens widely makes it easier to wipe the interior, where moisture and vegetable bits can collect. I would also inspect the fan cover and air vents. They should be accessible for routine cleaning, but never rinsed unless the manual explicitly allows it. A quick wipe is less satisfying than a full wash, yet safer for electrical parts.

Food-safety features should support steady drying, not promise more than they can deliver. Look for clear temperature controls, a timer, and instructions for arranging slices without overlap. Even airflow helps produce dry more evenly, though slice thickness still matters. Wash vegetables before loading, and clean trays promptly afterward. It is tempting to trust a “clean” appearance. That can be misleading; dried residue hides in corners. Check whether replacement trays and food-contact parts are identified clearly, and follow the supplied cleaning guidance.

Evaluating Energy Use, Durability, and Warranty Support

Energy use deserves a calculation, not a guess. Check the dryer’s rated wattage and expected cycle time, then estimate cost: watts ÷ 1,000 × hours × your electricity rate. The U.S. Energy Information Administration reported an average commercial electricity price of about 12.8 cents per kilowatt-hour in 2023. At that rate, a 1.2-kilowatt dryer running for ten hours costs roughly $1.54 per cycle. Your local rate may differ. That estimate is only a starting point.

Durability shows up in the details. Look for stainless-steel racks, sturdy hinges, and a fan housing that feels secure rather than flimsy. Ask whether racks and heating elements are replaceable, and check that airflow reaches trays evenly. A noisy fan or hot spot is easy to miss in a short demonstration. It may matter after months of daily use. I would not treat a heavier machine as automatically better; weight alone proves little.

Read the warranty before comparing prices. Confirm how long parts and labor are covered, who pays shipping, and whether commercial use changes the terms. A one-year warranty with clear repair support may be more useful than longer coverage with vague exclusions. Keep the manual and purchase record. Small habit, big help. Also ask how quickly common parts can be supplied; downtime during harvest season can cost more than the machine’s modest energy savings.